Tutorial Troubleshooting the Setup: Difference between revisions
No edit summary |
No edit summary |
||
| Line 1: | Line 1: | ||
[[Category: | [[Category:Tutorial]] | ||
Revision as of 09:58, 19 January 2010
We assume that you grasped the way that ProB setups up the initial states of a B machine as outlined in Tutorial Setup Phases.
In this lesson, we examine what can go wrong in these phases and how one can find a solution. Indeed, setting up the constants and initial values of a machine is often the most difficult step for an animator. Unfortunately, it is also the very first step an animator has to perform.
We will also learn to use the various predicate analysis features provided by ProB.
Simple Inconsistency in the PROPERTIES
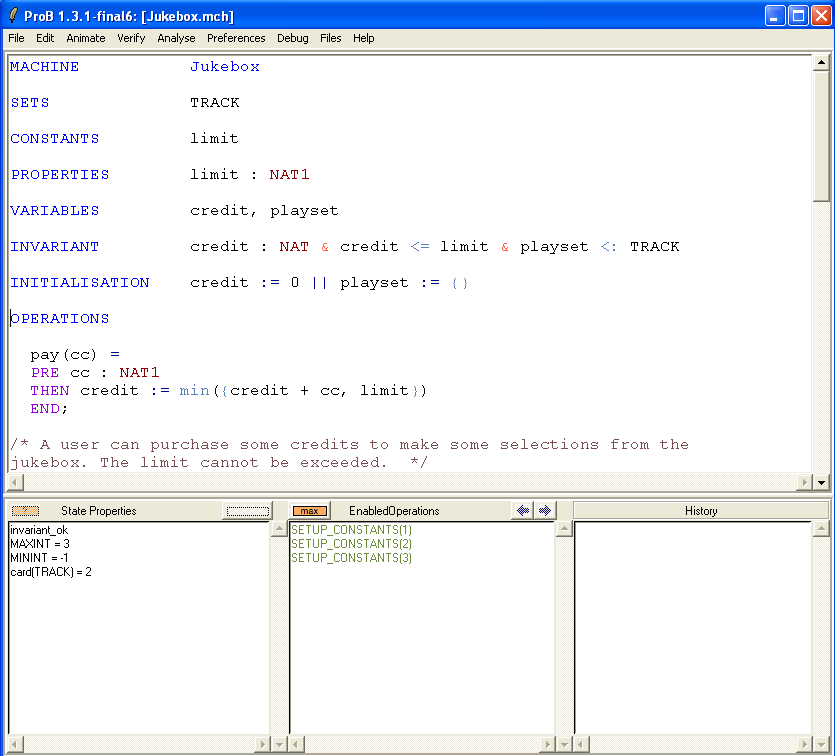
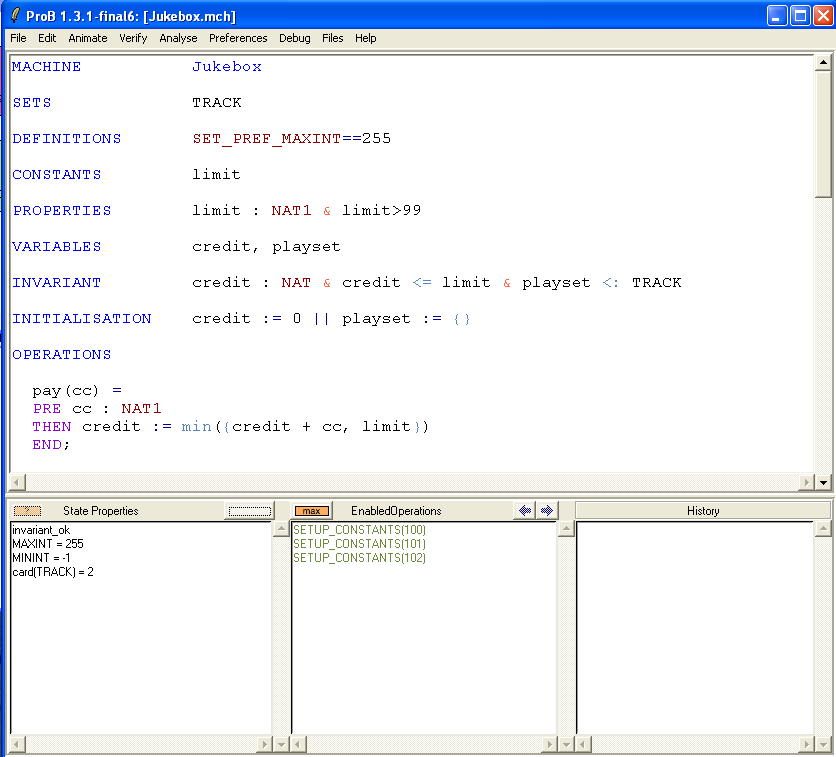
First, open the machine "Jukebox.mch" which can be found in the SchneiderBook/Jukebox_Chapter13 subdirectory of the ProB Examples folder. The main ProB window should look more or less as follows:
Now edit the file, and type & limit>99 after PROPERTIES limit:NAT1.
Save the machine and reload it. Hint: there is a "Save and reopen" command in the "File" menu for this action.
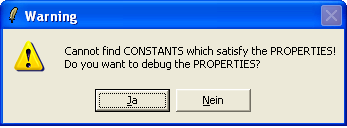
ProB should now popup the following message:
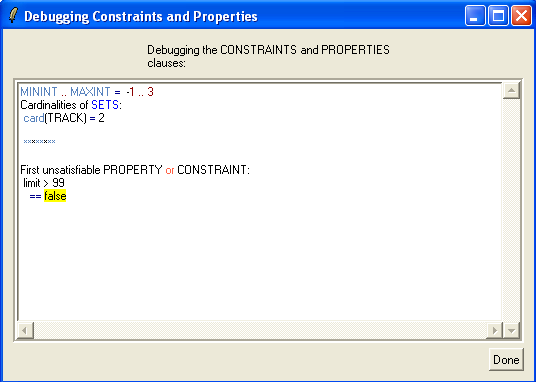
If you click "Yes" (or Ja), you will get the following window:
What ProB does is add conjuncts from the PROPERTIES (and CONSTRAINTS clause) one-by-one, until it can no longer find a solution. This can often give you an indication of what is wrong, and where the trouble (or inconsistency) stems from.
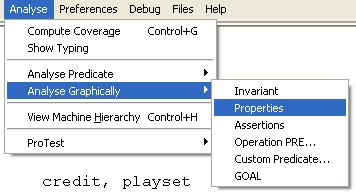
An alternate means to figure out the source of the problem is ProB's graphical formula viewer. For this, choose the "Analyse Graphically/Properties" in the "Analyse" menu:
This will result in the following visualisation:
This viewer uses another, more sophisticated algorithm to determine a maximal subset of the Properties which is satisfiable. In this case, it has determined limit=1 to make limit:NAT1 true (but which obviously does not make limit>99 true.
In any way, the problem here is that we have set MAXINT to 3, and hence NAT1={1,2,3}. To make our PROPERTIES satisfiable again, we could add for example
DEFINITIONS
 SET_PREF_MAXINT==255
to the machine and re-load it. As we can see, the problem is solved and we can proceed with animation of the machine:
A more involved inconsistency
Let us add
& !x.(x<limit => x<99)
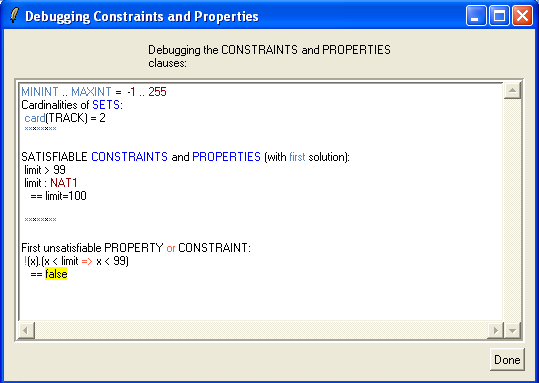
to the PROPERTIES of the machine and then save and reopen it. We again get the error message that ProB cannot find CONSTANTS which satisfy the PROPERTIES. If click on the "Yes" button to debug the PROPERTIES we get the following picture:
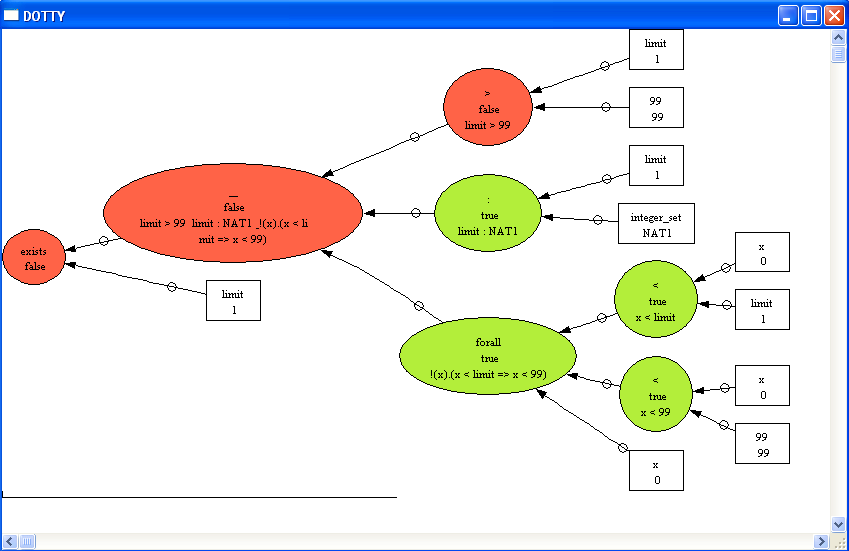
We can see that ProB has found the solution limit=100 for the first two properties and then got stuck. Using the graphical viewer results the following visualisation:
Here we can see that ProB has used another partial solution, namely limit=1, which also satisfies two properties (and fails to satisfy limit>99).
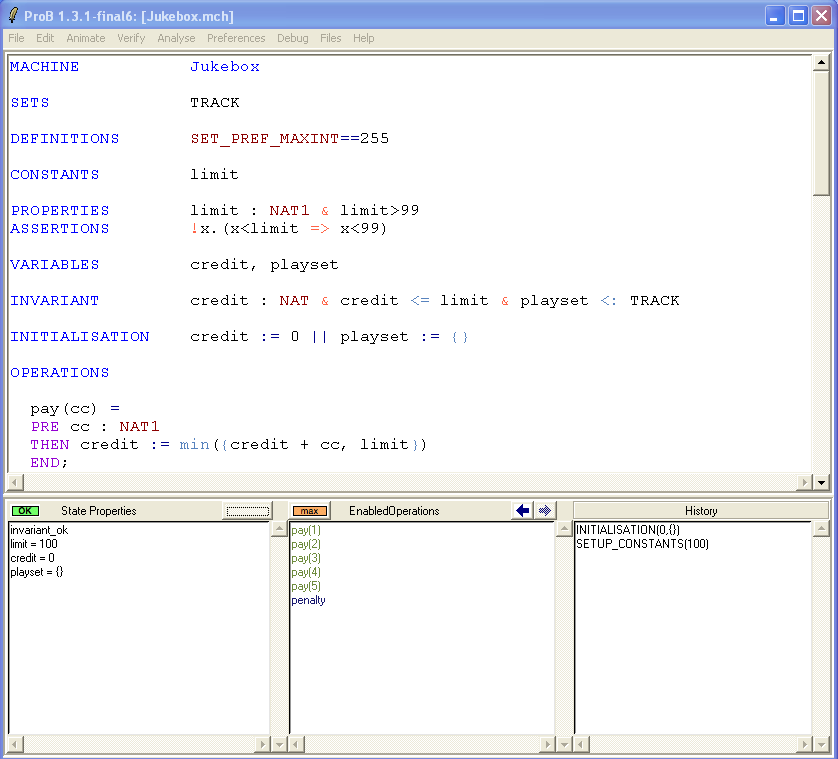
If the feedback provided by ProB is not sufficient to locate the problem, one can try to comment out parts of the PROPERTIES by hand until they become satisfiable. One can also move them to the ASSERTIONS clause, which has the advantage that we can check them later. Let us move the last property into an assertion:
PROPERTIES        limit : NAT1 & limit>99
ASSERTIONS        !x.(x<limit => x<99)
Now save and reopen the machine. This time the properties are satisfiable. After selecting SETUP_CONSTANTS(100) and INITIALISATION({}) we obtain the following picture:
We can now analyse the ASSERTIONS. For this, choose the "Analyse Graphically/Assertions" in the "Analyse" menu:
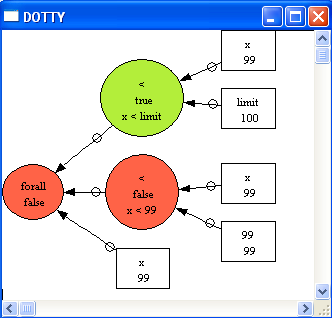
The graphical viewer gives us an instance where the universally quantified formula is false: x=99, which hopefully helps us in fixing the problem, e.g., writing !x.(x<limit => x<=99).
Note, that ProB also allows us to inspect custom predicates using the Graphical Viewer (without saving and reopening a machine). For this, choose the "Analyse Graphically/Custom Predicate..." in the "Analyse" menu and enter !x.(x<limit => x<=99):
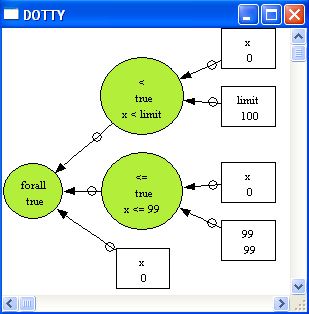
After hitting OK we obtain:
As we can see, this predicate is true in that particular state of the machine. Note, there is also the option to use "Analyse Predicate/Custom Predicate...". This will result in a simpler (non-graphical) visualisation. Use this if the graphical visualisation is too large or takes too much time to compute. The custom predicate analysis commands have one disadvantage: the formula has to be typed into a single line inside the dialog box (and parse errors are not very user-friendly). The alternatives are entering the formula into the ASSERTIONS clause as above. One can also define a special GOAL predicate in the DEFINITIONS:
DEFINITIONS GOAL == !x.(x<limit => x<99)
Then one can use "Analyse Predicate/GOAL" or "Analyse Graphically/GOAL". The GOAL predicate can also be used to guide the model checker.
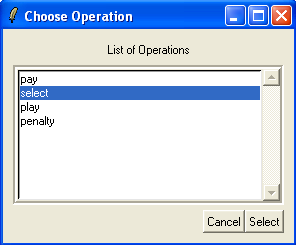
Finally, the Analyse commands can also be applied to the precondition and guards of operations. This is useful to find out why a particular operation is (maybe) unexpectedly disabled or enabled. For this, choose the "Analyse Graphically/Operation PRE..." in the "Analyse" menu and select the "select" operation:
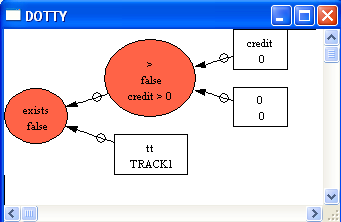
After hitting Select or typing return we obtain, which shows us why the operation is not enabled:
