Tutorial First Step: Difference between revisions
m punctuation and spelling errors |
|||
| (8 intermediate revisions by 2 users not shown) | |||
| Line 10: | Line 10: | ||
Start ProB by double-clicking on <tt>ProBWin</tt> (for Windows users), or by launching <tt>StartProB.sh</tt> from a Terminal (for Linux and Mac users). | Start ProB by double-clicking on <tt>ProBWin</tt> (for Windows users), or by launching <tt>StartProB.sh</tt> from a Terminal (for Linux and Mac users). | ||
[[file:ProBWinContents.png|center]] | |||
Mac users may also be able to launch ProB by double-clicking on <tt>StartProB.sh</tt>. | Mac users may also be able to launch ProB by double-clicking on <tt>StartProB.sh</tt>. | ||
This should bring up a window as follows: | This should bring up a window as follows (on a Mac): | ||
[[file:ProBStartWindow.png|center||500px]] | [[file:ProBStartWindow.png|center||500px]] | ||
In case this does not work, please have a look at the output of ProB in the terminal window (on Windows a separate window will be automatically started). Normally, it should look as follows: | In case this does not work, please have a look at the output of ProB in the terminal window (on Windows a separate window will be automatically started) and send us a description of what is printed in that window along with a detailed report (list which operating system you use, which version it is, which version of ProB have you downloaded, etc.). Normally, it should look as follows (on Windows): | ||
[[file:ProBStartTerminal.png|center]] | [[file:ProBStartTerminal.png|center||400px]] | ||
== Loading a first B machine == | |||
Use the "Open..." command in the "File" menu | |||
[[file:ProBWinOpen.png|center]] | |||
and then navigate to the "Examples" directory that came with your ProB installation: | |||
[[file:ProBWinExamplesFolder.png|center||400px]] | |||
Inside the samples folder, open the "Lift.mch" machine. | |||
Your main ProB window should now look as follows: | |||
[[file:ProB_LiftAfterLoad.png|center||500px]] | |||
== First Steps in Animation == | |||
We have now loaded a first simple B model. Let us look at the contents of the ProB window (ignoring the menu bar). | |||
* The upper half of the ProB window contains the source code of the model. | |||
* The lower half contains three panes. | |||
** The "State Properties" pane contains information about the current state of the model. We will explain the contents of this pane in more detail later. | |||
** The Pane called "Enabled Operations" contains a list of operations that can be applied to your model. Before a B machine can be animated, we have to initialise it. Hence, initially the only option presented is "<tt>INITIALISATION(4)</tt>". The <tt>4</tt> indicates that the initialisation will set the main variable of the machine (<tt>floor</tt>) to the value 4. This information is useful in case multiple initialisations are possible (in order to distinguish them). | |||
** The History pane contains the list of operations you have executed to reach the current state of the animator. Obviously, this list is initially empty. | |||
Now, double click on "<tt>INITIALISATION(4)</tt>" in the "Enabled Operations" Pane. This has the effect of executing the initialization and moving the machine into its initialized state. The lower half of the ProB window should now look as follows (the upper half will remain unchanged): | |||
[[file:ProB_LiftAfterInit.png|center||700px]] | |||
In the "Enabled Operations" pane we can see that two operations can be executed: <tt>inc</tt> and <tt>dec</tt>. The "History" pane shows us that we have executed "<tt>INITIALISATION(4)</tt>" to reach the current state. | |||
In the "State Properties" pane we can see that the variable <tt>floor</tt> now has value 4. The green "OK" button indicates that the invariant of the machine is true. By clicking on the "OK" button, we obtain more details about the invariant of the machine: | |||
[[file:ProB_LiftAfterInitInvariant.png|center]] | |||
Now, double click on "<tt>dec</tt>" in the "Enabled Operations" Pane thereby executing the associated operation. The lower half of the ProB window should now look as follows: | |||
[[file:ProB_LiftAfterDec.png|center||700px]] | |||
As you can see, the lift is now on floor 3. You can also see in the "Enabled Operations" pane that the <tt>inc</tt> operation is colored in blue, while <tt>dec</tt> is still colored in green. The blue color indicates that executing this operation would lead us back to a state which we have already explored (namely with <tt>floor=4</tt>). | |||
In the "Enabled Operations" pane you can also see a backward and forward arrow button. These buttons work similar to a browser. Clicking on the back arrow will "undo" the last animation step and lead us back to the previous state of the machine: | |||
[[file:ProB_LiftAfterDecBack.png|center||700px]] | |||
This time, the forward button is also enabled which will undo the action of the back button (i.e., re-apply the <tt>dec</tt> operation). | |||
Latest revision as of 12:11, 18 April 2011
Installation
Start off by installing the standalone Tcl/Tk version of ProB. Follow the instructions in Installation.
Starting ProB
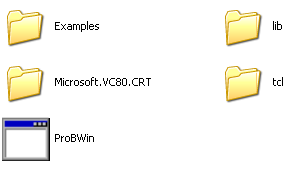
Start ProB by double-clicking on ProBWin (for Windows users), or by launching StartProB.sh from a Terminal (for Linux and Mac users).
Mac users may also be able to launch ProB by double-clicking on StartProB.sh.
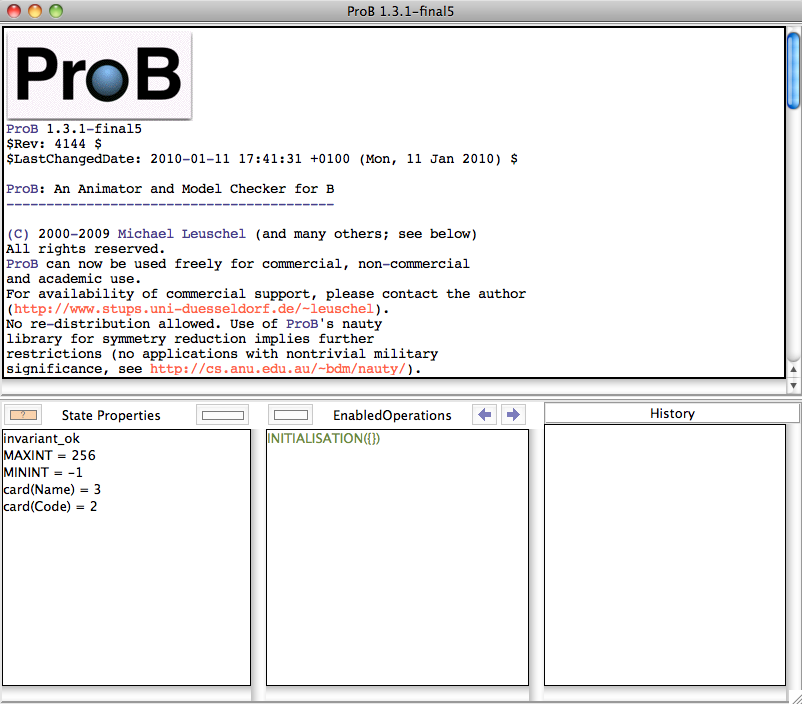
This should bring up a window as follows (on a Mac):
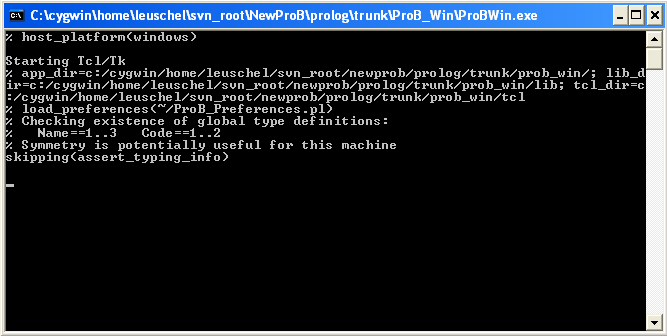
In case this does not work, please have a look at the output of ProB in the terminal window (on Windows a separate window will be automatically started) and send us a description of what is printed in that window along with a detailed report (list which operating system you use, which version it is, which version of ProB have you downloaded, etc.). Normally, it should look as follows (on Windows):
Loading a first B machine
Use the "Open..." command in the "File" menu

and then navigate to the "Examples" directory that came with your ProB installation:
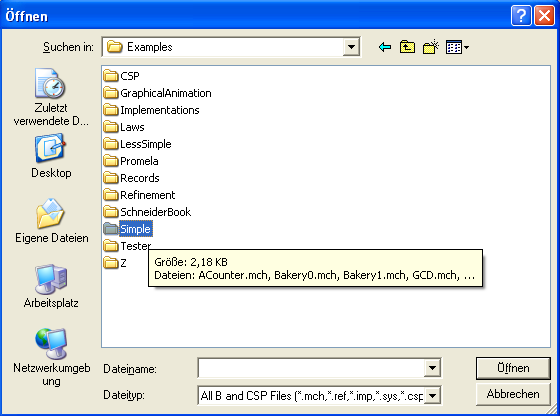
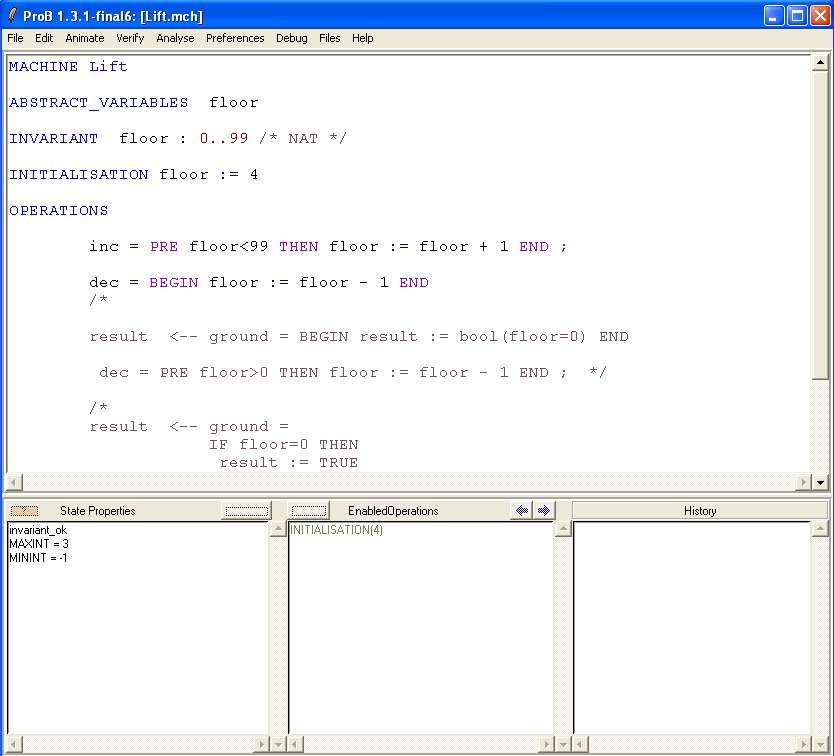
Inside the samples folder, open the "Lift.mch" machine. Your main ProB window should now look as follows:
First Steps in Animation
We have now loaded a first simple B model. Let us look at the contents of the ProB window (ignoring the menu bar).
- The upper half of the ProB window contains the source code of the model.
- The lower half contains three panes.
- The "State Properties" pane contains information about the current state of the model. We will explain the contents of this pane in more detail later.
- The Pane called "Enabled Operations" contains a list of operations that can be applied to your model. Before a B machine can be animated, we have to initialise it. Hence, initially the only option presented is "INITIALISATION(4)". The 4 indicates that the initialisation will set the main variable of the machine (floor) to the value 4. This information is useful in case multiple initialisations are possible (in order to distinguish them).
- The History pane contains the list of operations you have executed to reach the current state of the animator. Obviously, this list is initially empty.
Now, double click on "INITIALISATION(4)" in the "Enabled Operations" Pane. This has the effect of executing the initialization and moving the machine into its initialized state. The lower half of the ProB window should now look as follows (the upper half will remain unchanged):

In the "Enabled Operations" pane we can see that two operations can be executed: inc and dec. The "History" pane shows us that we have executed "INITIALISATION(4)" to reach the current state. In the "State Properties" pane we can see that the variable floor now has value 4. The green "OK" button indicates that the invariant of the machine is true. By clicking on the "OK" button, we obtain more details about the invariant of the machine:

Now, double click on "dec" in the "Enabled Operations" Pane thereby executing the associated operation. The lower half of the ProB window should now look as follows:

As you can see, the lift is now on floor 3. You can also see in the "Enabled Operations" pane that the inc operation is colored in blue, while dec is still colored in green. The blue color indicates that executing this operation would lead us back to a state which we have already explored (namely with floor=4). In the "Enabled Operations" pane you can also see a backward and forward arrow button. These buttons work similar to a browser. Clicking on the back arrow will "undo" the last animation step and lead us back to the previous state of the machine:

This time, the forward button is also enabled which will undo the action of the back button (i.e., re-apply the dec operation).